In this post, we will learn how to install Nodejs and execute javascript in IntelliJ IDEA. For those who do not know about IntelliJ IDEA, it is an IDE for Java and it also supports coding in SQL, HTML, CSS, and Javascript. Intellij IDEA is the product by Jetbrains, it also has a popular product known as Pycharm, an IDE for Python. We will focus on the use of Intellij IDEA for executing Javascript code by installing the runtime environment NodeJs. It covers the installation process for Windows Operating Systems. To execute Javascript in IntelliJ IDEA, you need to follow the below 5 steps in order.
Step 1: Install Visual Studio to resolve NPM dependency
You can simply install the latest version of Visual Studio Community Edition, it is a free version. Download and install by following the GUI instructions. We need to resolve dependency for NPM installation, thus we are installing Visual Studio to avoid any hassles in the first place. NPM is a “package manager” that makes installing Node “packages” fast and easy. Also, you need to install the “Desktop development with C++ Workload” package. In the workload tab click on “Desktop development with C++ Workload” and on the right side in the section “Installation details” select all the packages” and click on “Install while downloading”.

Step 2: Install IntelliJ IDEA and Nodejs
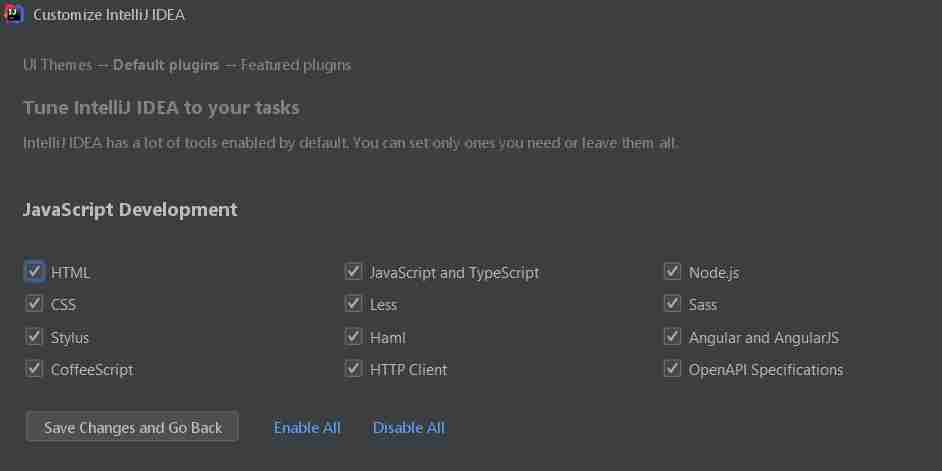
First Download the IntelliJ IDEA from the official website. The community edition does not offer support for Javascript execution and NodeJs runtime environment. There is an ultimate edition that is to be purchased and it supports Javascript coding. In case you are looking for a free edition and you are a student/teacher with an educational domain email then you are eligible for a free edition. Download the free edition from here. To avail, the benefit of the free edition you can simply register with an educational domain email while installing the IDE. IntelliJ IDEA is very easy you can simply follow the step by step guide mentioned on the official link. At the time of installation, you can select core packages that need to be installed for Javascript, such as Nodejs, etc. The latter step will install Nodejs for you so that you can save time to install Nodjs separately. Below are the screenshots you can refer to while installing the IDE and customizing to select Nodejs install simultaneously.


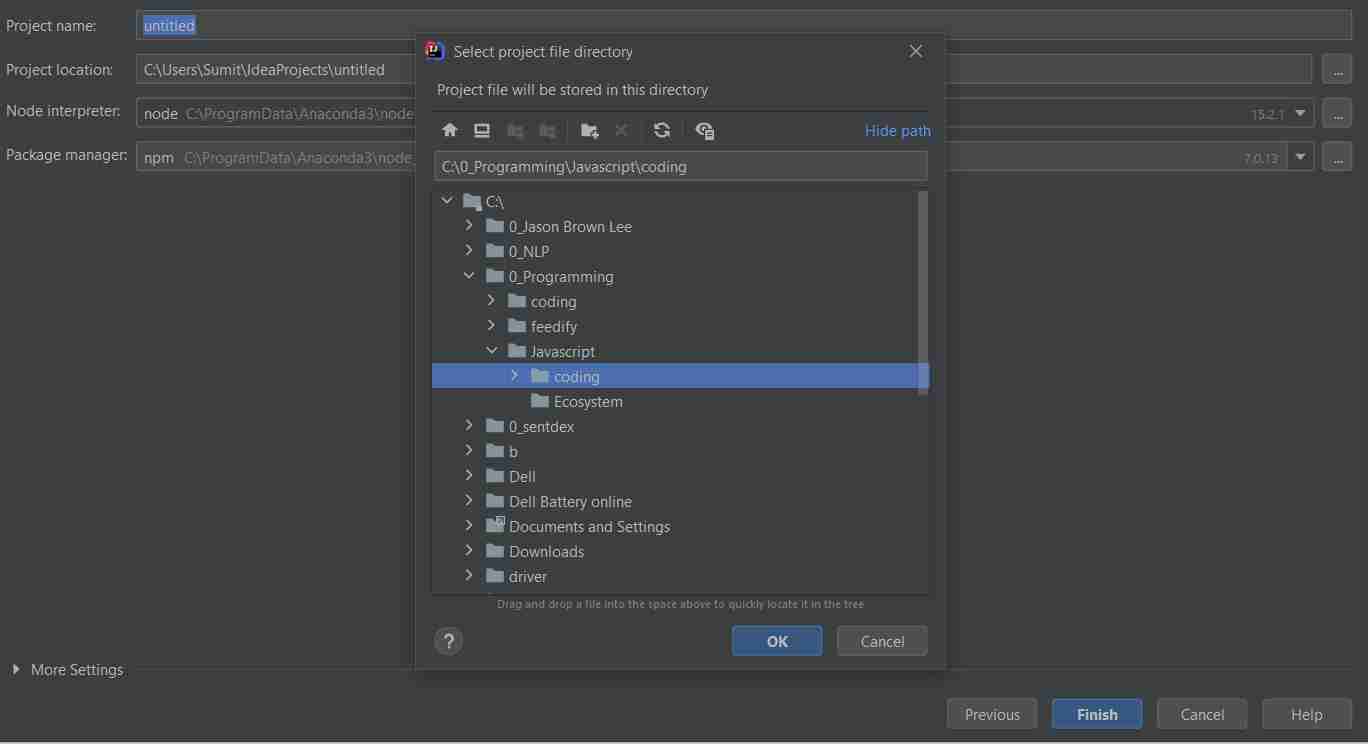
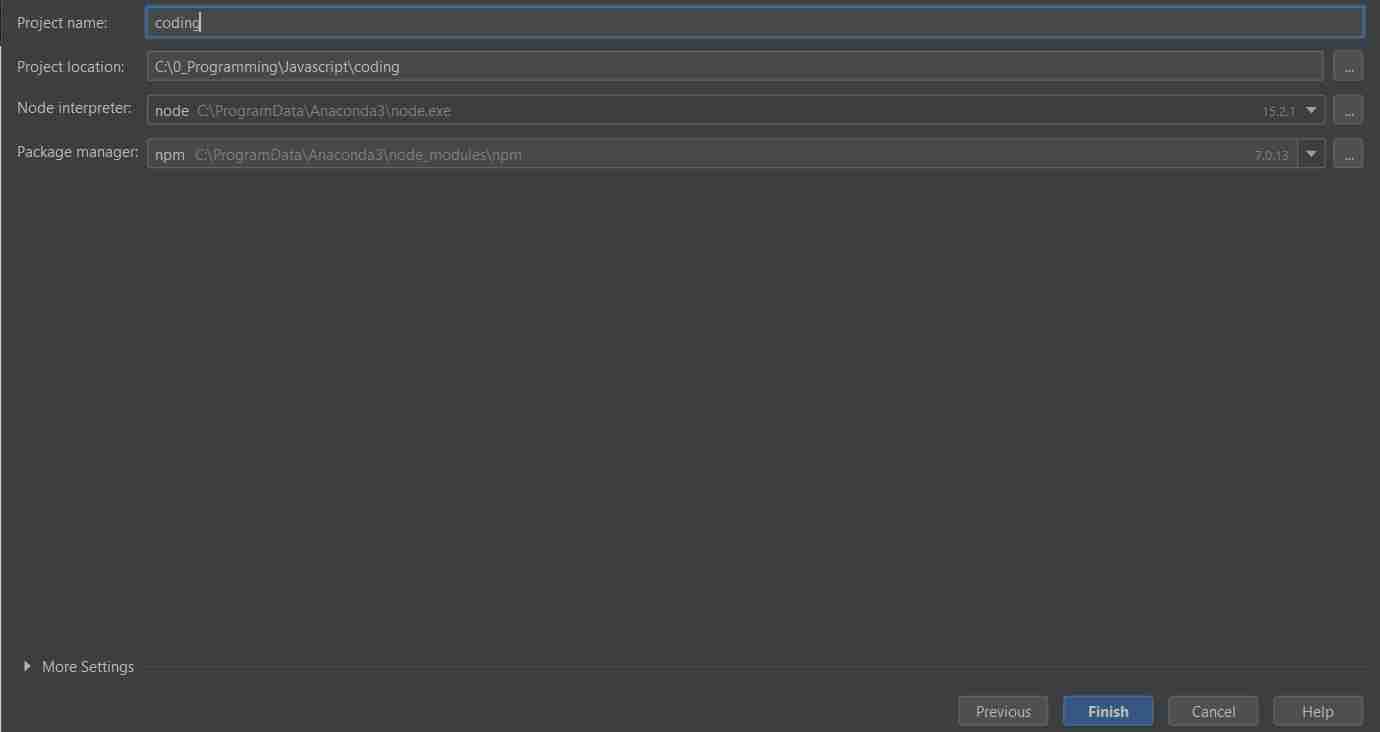
Step 3: Create a Project
Now the IDE and nodejs runtime environment is installed. You can simply go to the Start menu in Windows and launch the IDE. When the IDE is executed the first time you need to create a new project. From the below image, you can follow the steps regarding how to create a Javascript project with Nodejs.


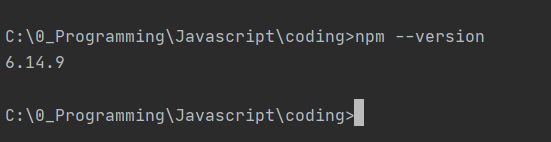
Go to the command terminal in IntelliJ IDEA and type the below command to check the version of the nodejs installed.
node --version
Step 4: Install or Update the latest version of npm
Simply type the below command to install or upgrade the latest version of npm using the IntelliJ IDEA command prompt.
npm install -g npm@latest

Once the npm is successfully installed or updated you can simply check which version of npm is installed by typing the following command in the IntelliJ IDEA Command prompt.
npm --version
Step 5: Run Javascript demo code in Intellij Idea
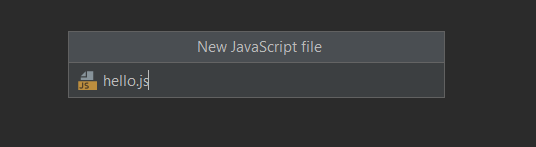
- Simply create a new javascript file in the created project. Give the name to the file and write the javascript code.


Type the following command in the Intellij IDEA command terminal.
node hello.js

Hurray! you have finally executed standalone javascript code in the Intellij IDEA using Node.js runtime environment.

